Showing posts with label One Night. Show all posts

Monday, February 7, 2011

Project #16: Make a Monogram Wall Hanging

Perhaps you noticed back in this post another living room accessory lurking in the wings. Well, maybe not lurking. After all, it is dead center in my new series of pictures on my living room wall.


It's my new monogram wall hanging. Of course, monograms in home decorating is nothing new, and perhaps scattering words or letters in the midst of wall art isn't either. But this is a thrifty monogram. I picked up this letter for a mere dollar (thanks, Hobby Lobby!), and then I used my collection of acrylic craft paints to customize it. Of course, I wanted it to match/blend in with my wall o' frames, so I went black, but then I mixed up a custom gold color to add accents and then brush on an "antiquing" layer to give it a slightly aged look. This one's pretty simple, guys, so there's no step-by-step instructions, except for these: purchase, paint, hang. Done. But in case you're wanting to see close-ups of how I got there, here are some more pictures.


Love it! One night, WAY less than $20, easy-peasy, and so fun to customize. Of course, you can put your letters in any room and color them in any way. What a great gift idea, too! Where have you used monograms in home decor or gift giving?

Friday, February 4, 2011

Project #15: Sew Decorative Pillow Covers

If you looked carefully in this previous post, you may have spied a new addition to my living room. There are more, and they were so easy! My $5 Kirkland's clearance pillows had seen their better days and were desperately needing replacement. I was looking for something that matched the rest of my decor a little better and was a little more trendy than just a solid color. I really wanted a print. So when Jo-Ann's recently had all of their home decor fabric on sale for 50% off, I jumped at the opportunity to peruse their fabric selection. Luckily, I found some great stripe and floral prints that worked just perfectly with my colors.


And that was no easy feat, considering I didn't have any swatches with me. In fact, this decision took a long time because I wasn't really sure what I wanted to go with--duo tones, tone on tones, or multi-tone prints. In the end, I'm quite satisfied with my multi-colored choices, and even happier with the prices. The material came in at $5 per yard on sale, and each yard made TWO pillows. I also had an extra percent-off coupon on top of this, so I was practically giddy over my deal.

Here's how I made FOUR new pillow covers for under $10!

Sew Easy Pillow Covers

Materials:
  • 1/2 yard 45"-wide fabric
  • Coordinating thread
Equipment:
  • Sewing machine
  • Iron and board
Cost: Under $20
Level: Easy
Time: One Night
Instructions:
  1. Cut the fabric into an even 18" strip.
  2. Cut the strip of fabric into one 18" square (pillow cover front), and two 15"x18" rectangles (pillow cover back. If you are a few inches short on your fabric, you could make 14"- or 13"-wide rectangles, too.
  3. Fold back approximately 4" of fabric along one edge of each cover back, so that you end up with two 11"x18" rectangles.
  4. Place pillow cover front on flat surface, with right side of fabric up.
  5. Place each cover back on the front, with right side of fabric down. Note that the backs will overlap so as to create a pocket for your pillow form.
  6. Pin around edges.
  7. Stitch a 1/2" seam around all edges.
  8. Turn cover inside out and press seams out, especially in corners.
  9. Finish by inserting an old pillow or pillow form (18").


There are no buttons or "sealers" on this project, so it's extremely easy to construct. I got on a roll and made all four pillows in just under an hour. My husband was even impressed with my time! Find a good deal on your fabric, and I promise you'll start thinking about having pillow covers for different seasons. Don't pillows make all the difference when changing the mood of a room?

Monday, December 6, 2010

Project #12: Sew Christmas Stockings

Whew! It's been a while! I nearly panicked when I saw how long it had been since my last post. Luckily, I've been busy working, working, working over the holidays and have plenty of ideas to share with you over the next few weeks. Once Christmas passes, there should be a few more home improvement and building projects, but with all the gift-giving and holiday home decorating going on, I figured you'd want that stuff pronto!

Last week I finally got around to decorating my mantel. I felt inspired by a few left-over blue glass balls from an old crafts project, so I decided to go with a blue, silver, and white theme this year. I'm really liking it, but my stockings aren't so coordinated. I have a couple of Dollar Store green ones, a couple of red furry clearance ones from Macy's (which aren't big enough to hold anything it seems), and a single white one that served as a gift wrap at one time. Not exactly cream of the crop when coodinating with my new mantel scheme.


I've always thought that one day I'd have personalized stockings for our family, but there was no point in investing in them before I had children or a more "permanent" home. Well, now that we have one little one and another on the way, the time has come to finally get Christmas stockings, I decided. Plus, JoAnn's was having one heck of a sale this past weekend (including an extra 20% off my entire purchse). So I snagged plenty of fabric, some fur, some beaded trim, and went to it. I do believe that this is the fastest turnaround any of my sewing projects has ever seen: I actually bought fabric one afternoon and finished the project that night. Unbelievable! Here's how easy it was.

Sew a Christmas Stocking

Materials:
  • old stocking (optional)
  • large piece of paper for creating stocking pattern (or 4 pieces of copy paper taped together)
  • 1/3 yard fabric for outside of stocking
  • 1/3 yard fabric for stocking lining (optional)
  • 1/2 yard 4" fur trim for stocking top
  • 1/2 yard beaded trim (optional)
  • 1" x 8" strip of scrap fabric or ribbon for stocking hanger
Equipment:
  • sewing machine
  • iron
  • glue gun
  • basic sewing supplies
Time: One night
Difficulty: Easy
Cost: Under $20 per stocking

Instructions:
  1. Using an old stocking that you like the shape of (or just your imagination), draw a pattern for your stocking on the piece of paper. Be sure to make it wide enough to fit gifts and treats inside, and allow for seam allowances all around. I made mine a little longer than my existing stocking because it seemed a little short.
  2. With fabric double-folded, pin pattern and cut stocking front and back out of outer material.
  3. If lining stockings (my outer material was especially thin, so I picked up some fleece to give the stocking body and increase opacity), repeat step #2 with lining fabric.
  4. With right sides together, sew (I serged) outer stocking together using a 1/4" seam allowance. Turn right side out and press.

  5. With right sides together, sew (I serged) stocking lining together using a 1/2" seam allowance. Trim excess fabric close to seam. DO NOT turn right side out.
  6. Cut stocking topper (fur) to size of opening (going all the way around the front and back of stocking), plus 1" for seam allowances.
  7. With right sides together, sew ends of topper (fur) together, using a 1/2" seam allowance. Turn right-side out.
  8. Stuff stocking liner into stocking outside, matching side seams.
  9. Fold stocking hanger in half and insert on heel side along seam, with fold pointed down.
  10. Insert stocking topper (fur) into stocking, matching seam to heel seam.
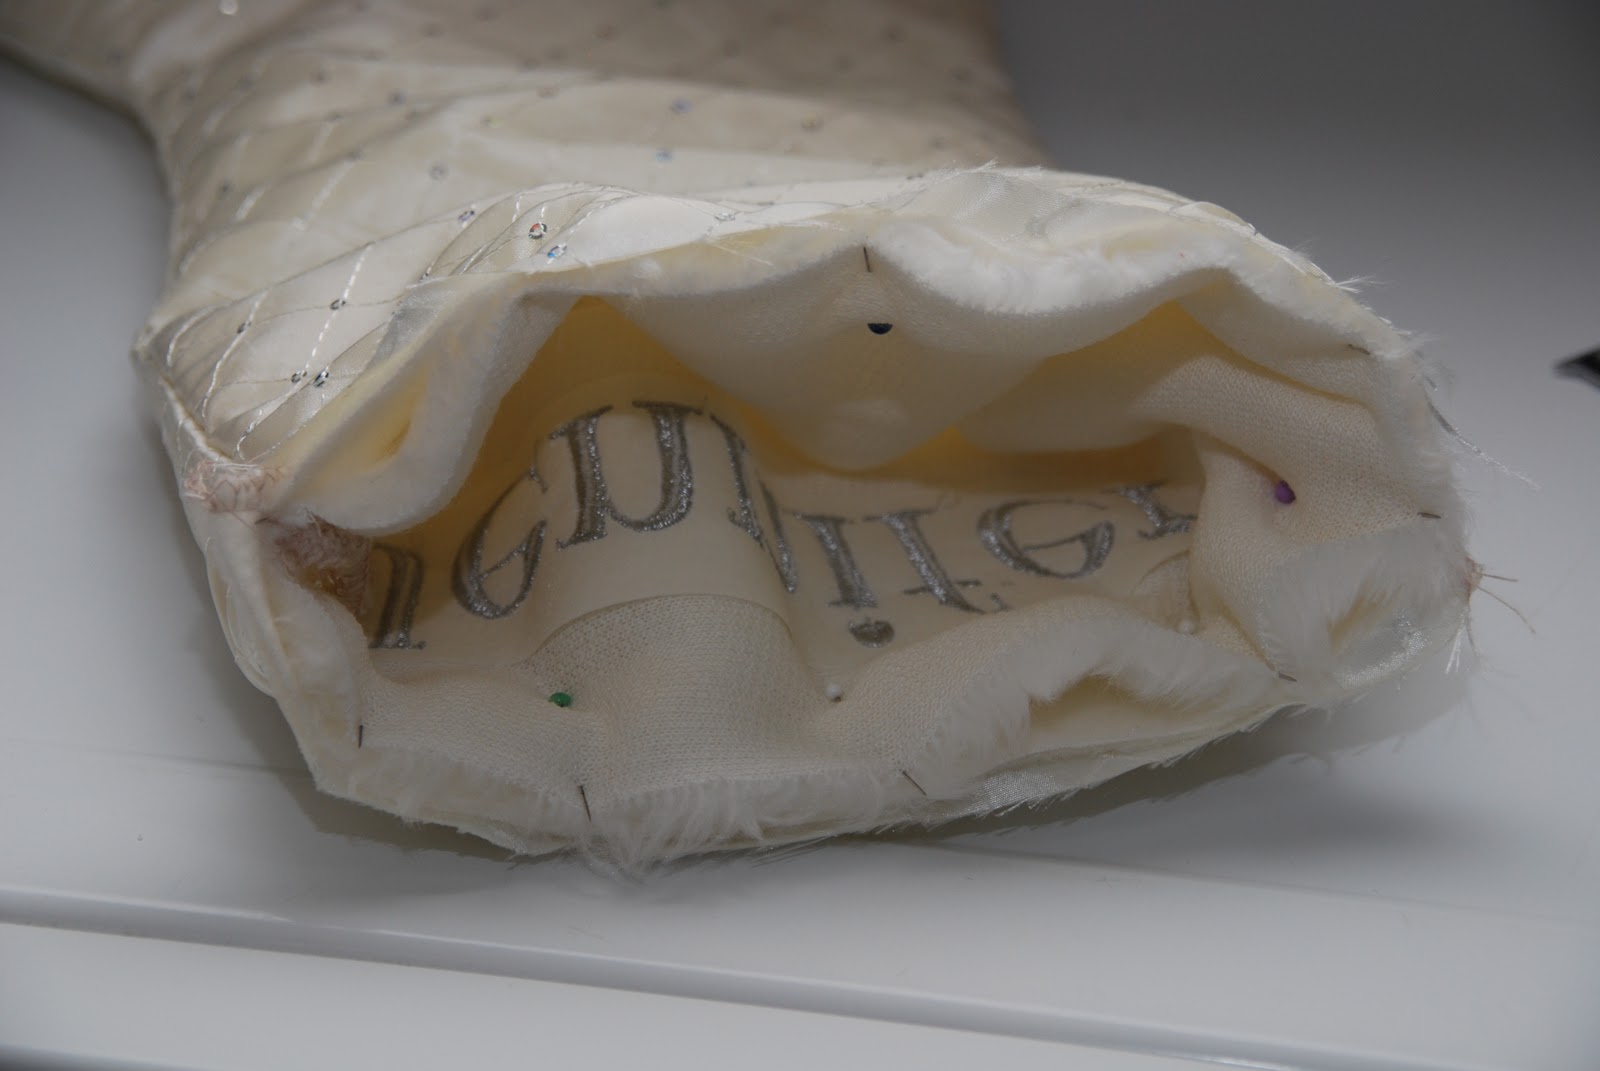
  11. Pin through all thicknesses.
  12. Stitch around stocking opening, using a 1/2 seam allowance.
  13. Fold out stocking topper and hot glue beaded trim to the wrong side of the fur.
  14. Turn down stocking topper.
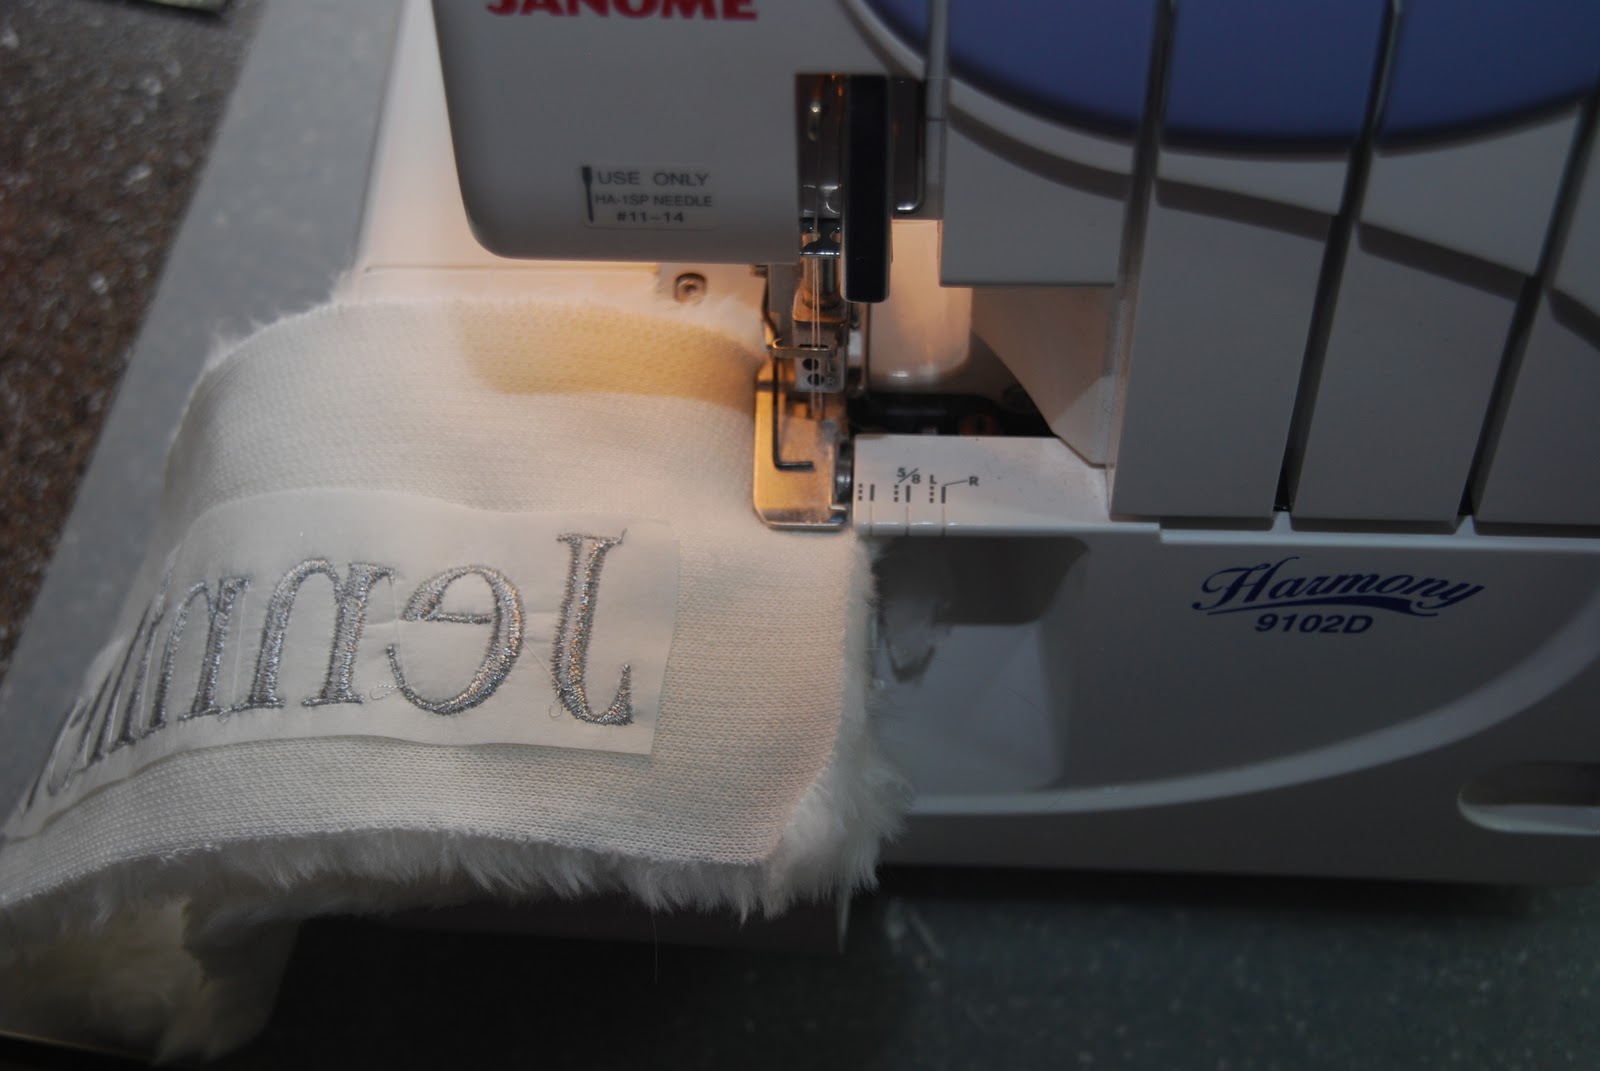
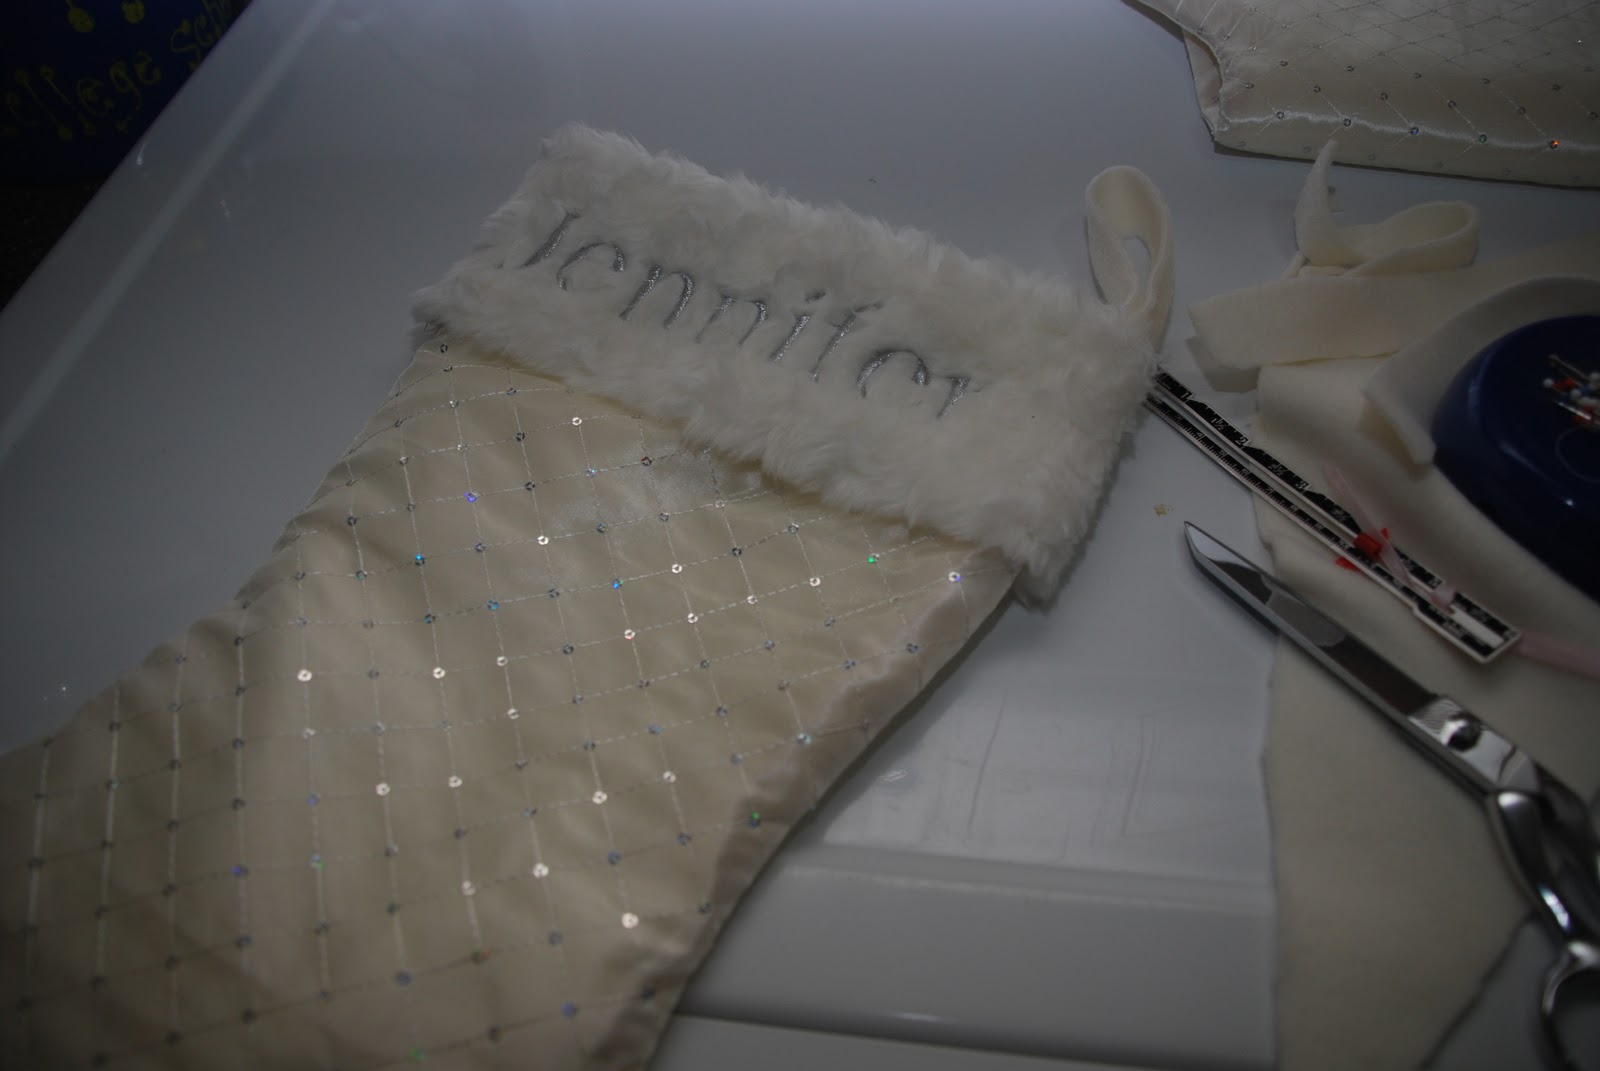
I'm so happy with how my stockings turned out. I actually made four in just a couple of hours, and because my lovely, generous mom was in town with her embroidery machine, she helped me embroider our names across the top of each one. I love them! Because each stocking didn't use the entire 1/3 yard of fabric, I could squeeze more stockings out of my scraps, making this a very economical project. Could I have bought them for less? Maybe on clearance after the holidays. But there's no way that they'd be exactly what I was looking for or handmade with love by my mom and me. What a fun evening of sewing, and what a beautiful addition to my Christmas mantel!


What about you? Have you ever made Christmas stockings? How have you personalized them?

Friday, November 19, 2010

Project #11: Sew a Child's Chef Hat

I was looking for a fun child's gift for nieces and stumbled upon this cupcake gift set, currently on sale for about $6 at Bed, Bath, and Beyond. That reminded me that I had snagged a free project pattern at Joann's recently for a child's chef hat. I decided that, if I combined those items with a box of cake mix and a can of frosting, I just might have a really cute gift bag for a birthday at a very reasonable price! What child doesn't love baking??


So I got to work on the chef hat project (the apron wasn't needed since one is included in the gift set). I had to read the instructions a couple of times to figure out exactly what was being described in the instructions. I have to admit that once I understood, I used the given dimensions but opted to go a slightly different route on assembly so as to avoid having to hand sew the facing seam. I'll outline how I did it below, and you have the original instructions linked above. Choose your own route! It took me about an hour to assemble two hats. With basic sewing skills, this was very easy.

Sew a Child's Chef Hat

Materials:
  • 5/8 yard white fabric (I used home dec fabric, which has a nice weight)
  • 3" length of 1"-wide elastic
  • 5" x 22" piece of fusible interfacing
  • thread
Equipment:
  • Iron
  • Sewing machine
Time: One Night
Cost: Under $20
Instructions:
  1. Cut a 22" diameter circle for the hat and a 5"x22" rectangle for the band.

  2. (Optional) Embroider (or use iron-on embellishments) on the band (as shown below).
  3. Iron fusible interfacing to back of band.
  4. With right sides together, sew band together at narrow ends, using 5/8" seam.
  5. Press seam open.
  6. With right side out, fold band in half lengthwise, all the way around. Press.
  7. At back seam, insert 3" piece of elastic so that it lays centered (lengthwise) at the base of the the band fold.
  8. Stitch the center of the elastic in place by top-stitching in the band seam. (This will create a seam in the middle of your elastic.)
  9. Sew one end of elastic three inches from the center seam. Stretch elastic so that fabric lays flat, and stitch down the center of the elastic back to the band seam. Release. Fabric will gather as elastic pulls up. Repeat for other end of elastic.


  10. Using a high-tension, long-length stitch on your machine, gather edges of circle about 1/4" from the edge.
  11. With right sides together, pin hat to band (at raw edges), spacing as evenly as possible. Pin frequently.
  12. Sew a 5/8" seam around hat base to attach to the band.
  13. Turn right-side out and press.

  
This was a fun project, and now I can't wait to give these to my nieces! (Shhh!) Don't tell them what they're getting!

Do you have any themed kids' gifts, like this baking-themed bag of treats? With the holidays fast approaching, we're all looking for original and creative ideas! Feel free to share some of your own!


Saturday, November 13, 2010

Project #10: Fix a Running Toilet (or Two!)

Yes, you read the post title correctly. TWO (!!) of our three toilets started running incessantly, allowing who knows how much water to run needlessly down the drain. The bathroom upstairs got so bad that we just shut the water off to it after our company left. We'd wake up in the middle of the night and hear it running mysteriously. It just got to be too much. On top of that, the flush handle was nearly impossible to push. Hmmm...Could those be related? And then the toilet in the half bath started running for long periods of time after flushing. Since we don't want to siphen all of our company to our master bath to use the restroom for the remainder of our years here in our home, it was time to roll up my sleeves and do some plumbing.

I started off by doing my research. I looked up "fixing a running toilet" in three locations. First I checked out this handy DIY guide my parents got us recently: DIY Know-How with Show-How by Julian Cassell, Peter Parham, and Theresa Coleman. Then I watched a how-to video from my personal DIY heroes, the guys over at This Old House. Finally, I checked out http://www.doityourself.com/ and found a helpful diagram and several troubleshooting tips.

After my research was complete, I decided to roll up my sleeves and see what I could do. (Times two.)
  1. First, I grabbed some old towels. I almost got started and didn't think about this! Good thing I did, because I got my hands a little wet! (Use old ones, especially if you use the bleach cleaning tablets like we do; no need to mess up good towels!)
  2. Next, I removed the lid on the back of the toilet. Most people automatically think toilets are full of dirty water, but the tank on the back is full of fresh water, so it's not as gross as you may think. Unless you have a really old toilet that hasn't been used in a long time, and water has sat stagnantly in the holding tank, the water should be fairly clean.
  3. Turn the water to the toilet on (if it's been shut off).
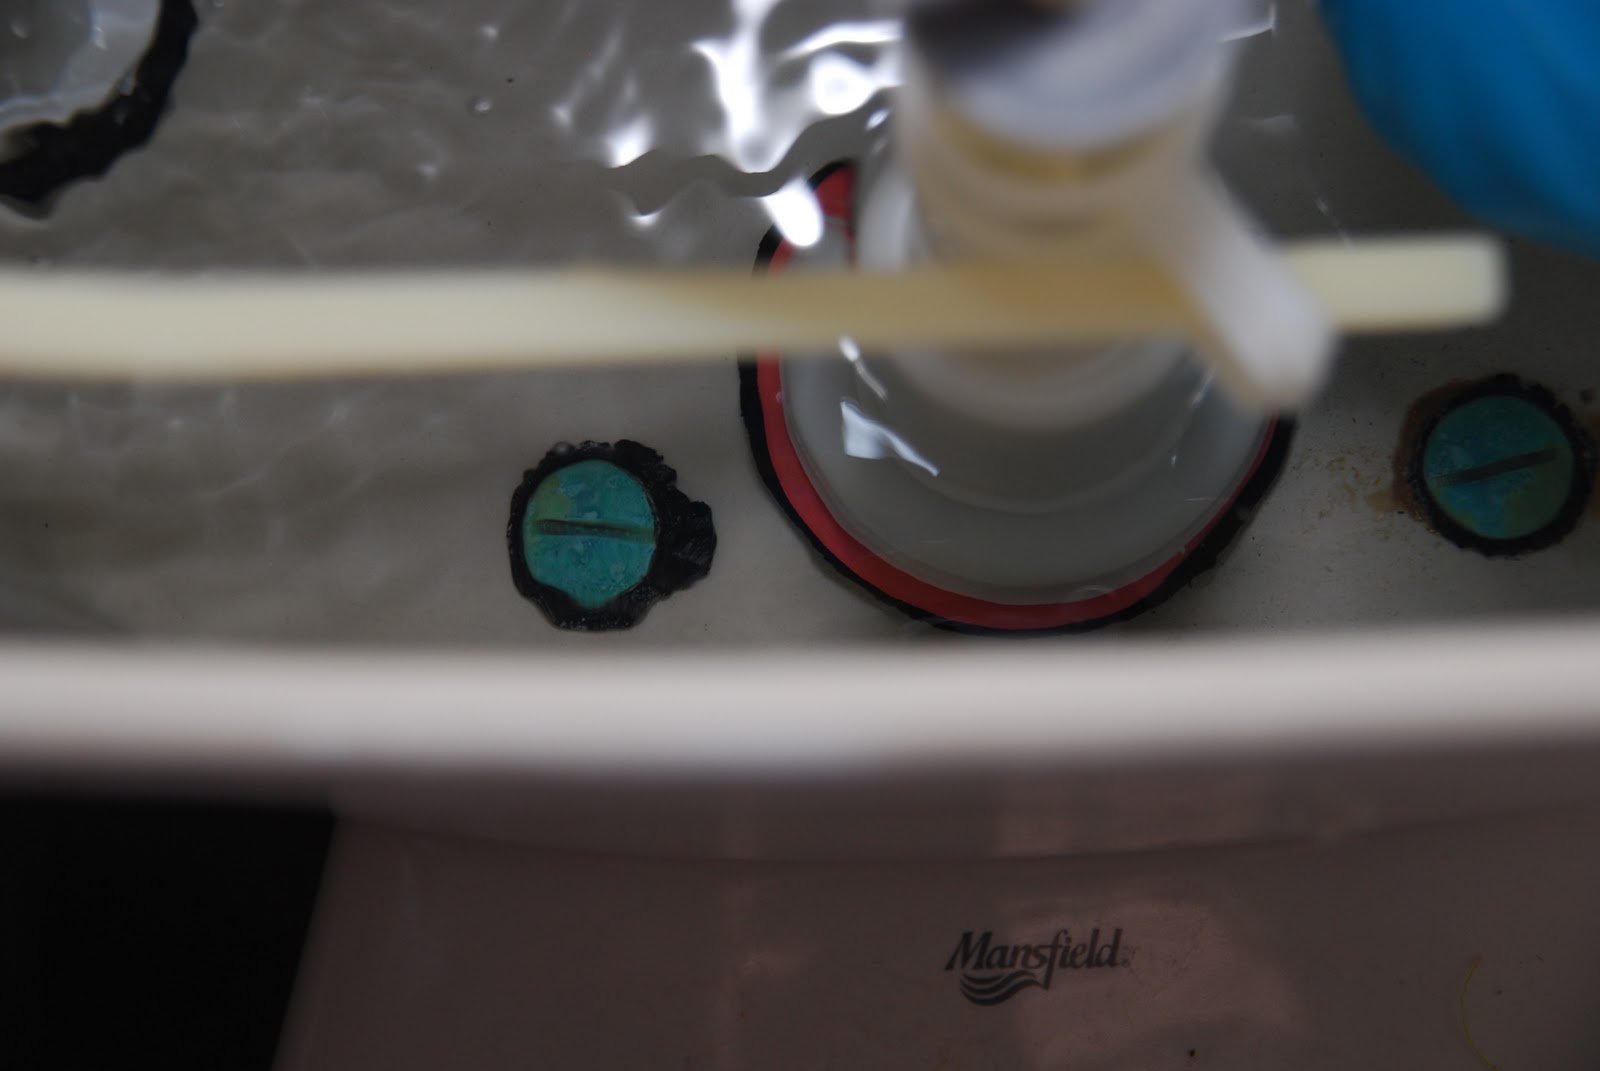
  4. Check the chain to make sure it isn't twisted. The first thing I noticed is that my toilet was different than the one in the diagram. Namely, there was no chain. (I have Mansfield 180 toilets in all three baths.) Water came in through the left-hand column, and drained out the valved hole beneath the center column. The float arm was attached to the left column, but no chain connected it to the valve. Step complete. On to the next test.
  5. Check to see if water is collecting in the float (blue in pciture above). My research told me that water-laden floats needed to be replaced. Mine was empty and thus, not in need of replacement. Step complete. Onward to the next checkpoint.
  6. Slightly bend the float arm downward so that the float hangs slightly lower than before. I knew that this was a promising step in the half bath because I had been able to stop the toilet from running after a flush by slightly lifting this arm. Sure enough, after bending the arm, I gave it a flush, and the running stopped immediately--not 30 minutes later. Success with the half bath! Toilet lid back on, I headed to the kids'/guest bath. Unfortunately, steps 4 through 6 didn't work this time around. After flushing, I could still hear a trickle of water, meaning water was getting out of the tank somehow--presumably through that center column. And sure enough, in less than 30 seconds, the toilet maneuvered a "half-flush" to force more water back into the tank. The trickle continued.
  7. Ensure the valve seal is positioned correctly. At this point, I noticed that the red valve seal (a round O-shaped piece of rubber underneath the center column) was unevenly visible around the base of the center column.

    So I lifted the column (causing a long flush) and pulled up the rubber. It was a bit dirty, so I rubbed it clean, and repositioned it evenly around the valve opening, snapping it into position. I immediately noticed that it connected better and was positioned more symmetrically around the valve. After testing the flush (which was MUCH easier--additional problem solved!), the toilet tank filled and stopped running. AND, the trickle was gone! Success!
  8. Replace toilet lid and bask in your new-found plumbing abilities. (Optional) Call husband to brag. (He'll be so proud.)
This whole ordeal (two toilets) took me less than 30 minutes to complete, didn't require any tools or materials, and, most impressively, didn't cost me a thing. If I'd known how easy this would be, I'd have fixed this problem weeks ago. Now I know. I realize I was lucky and didn't have to replace any parts, as some guides mentioned. I may have to do that someday, but for now, I'll try these simple steps FIRST to see if I can fix the problem easily.

I feel kind of empowered by my new knowledge. What about you? Have you tried any home repair recently that you'd never tried before? Ever worked on a running toilet? Got any other helpful tips?

Monday, November 8, 2010

Project #9: Sew a Small Baby Blanket

You always need a few good baby gift ideas. That's my opinion, anyway! In case you've had your fill of pillowcase dresses, pillow quilts, and wooden toy blocks, why not give a baby blanket a try?
This is a small blanket (roughly 11"x11" finished), but you could easily make it larger or full sized, as needed. A small size is great for traveling, naptime, doctor visits, diaper bags, or shopping. Baby can have something s/he loves without it taking up TOO much space!

This particular design was inspired by a blanket my daughter and several of her friends received as baby gifts. It is unique in that it has small loops of ribbon or trim sewn in the seams that baby can play with. This is great for little ones who are just developing early hand motor skills, but just as entertaining for older ones, too! (You can easily leave off the trims if you'd prefer.)

This project itself doesn't take up too much time or materials, and it's super easy to do. I bought some remnants of beautiful blanket fabrics and already had some matching ribbon scraps on hand. Read on and see how easy this adorable gift is!


Sew a Small Baby Blanket

Materials:
  • Two pieces of coordinating blanket remnants (minkee, flannel, or quilter's cotton work great)
  • Coordinating ribbon or trim remnants (ribbon, braids, or rick-rack work great)
Equipment:
  • Sewing machine
  • Pins
  • Scissors
  • Ruler
  • Iron/ironing board
Cost: Under $20
Time: One night
Difficulty: Easy

Instructions:
  1. Cut a blanket front and a blanket back out of the fabric remnants. Each should measure 12"x12".

  2. Cut several 5" lengths of ribbon/trim. I cut 12 lengths (3 per side); you could do more or less, depending on your trim width, blanket size, and/or preferences.
  3. Place blanket front right side up on flat surface.
  4. Fold each trim piece in half and pin to blanket front, raw edges even with sides of blanket and loop toward the inside of the blanket.

  5. Place blanket back face down on blanket front, matching edges.
  6. Carefully un-pin each trim piece and re-pin, catching all fabric and trim. (You're essentially moving the pins from the inside of the blanket and putting them on the outside for sewing purposes.)
  7. Using a 5/8" seam allowance, sew around the outside of blanket, leaving a 4" - 5" opening. (FYI: I used my serger again for this step.)
  8. Turn blanket right-side out.
  9. Tuck in unsewn edges, 5/8" each.
  10. Press blanket, making sure seams are pressed out.
  11. Stitch across opening, as close to the edge as possible, making sure seam allowances are turned in toward inside of blanket.

Could this be any cuter? I made 3 nearly identical ones with different trims--so fun! Just think of all the fabric and color combinations possible! What baby gift ideas have you made lately?

Friday, October 29, 2010

Project #7: Clean Out the Clothes

During our last move, we didn't have a lot of time to go through our closets before we packed or after we unpacked. Needless to say, we had accumulated a great deal of clothes that had either gone out of style, seen their better days, or no longer fit. For some time, we kept two giant moving boxes in our room and just tossed stuff in them (eventually on top of them) when it met one of these qualifications. We had been putting off taking them to Goodwill because we wanted to itemize them for tax purposes.

Well, I had just about had it with the two boxes of clothes. I had decided to forget about the writeoff in favor of less clutter. Except the boxes had gotten so big that me and my pregnant self couldn't lift the boxes any longer. So something had to be done.

I started to consider my options, and I decided to take a couple of routes. Here's what I did:
  1. Dump out all the clothes on the floor. I had to see what I had in order to make any progress.
  2. Pick out items that could be consigned. I have never done this before, but the process was fairly painless and carefree. My clothes were already clean and folded; I just gave them a quick press and a hanger before running them to my consignment appointment. I placed 20 items in the store for the fall; we'll see in January how they did. The drop-off process took all of five minutes! I've got another stack going to drop off for the spring sale. (Consignors usually limit how many items you can drop off during each season.)
  3. Grab the worn-out items and throw them in a trash bin! If I wouldn't wear it in its current condition, why would anyone else? No need to donate junk that someone else is going to have to weed through.
  4. Donate everything else! Fold and pack items in small, easily manageable boxes or bags that can be easily lifted in and out of your car.
  5. Drop everything off at its final destination!
In calling local consignment shops, I was disappointed to find that men's clothes aren't accepted by any of my stores. Most specialized in children's clothing, and with one little girl and another one on the way, I can't see getting rid of any of that yet. But one day, I'll have plenty to consign! And bonus: the local consignment shops donate all items that don't sell at the end of your sale period, so there's no need to go pick up leftovers and drive them over to Goodwill. Just stop by and pick up your check!

I think I waited a little too long to get to this project. I'm going to try to be more devoted to this moving forward. For this reason, I placed two large, labeled bins in the floor of my closet: (1) Donate and (2) Sell. Now when I (or anyone else) comes across something that needs to go, we'll put the item directly in the appropriate box, folded and ready to go. When a box is full, I'll deal with it individually instead of having to repeat steps 1-5 above. And now, clothing that's just had it goes straight to the trash can.

Whew! I already feel better. And my room looks better. At least that corner of it.

How often do you go through your clothes? Do you have any way to turn the unwanted items into a bit of extra cash? Ever had any luck selling at yard sales? Do share!

Jennifer

Friday, October 8, 2010

Project #5: Applique a T-Shirt

Fall is in the air, and what better way to welcome the change in seasons but to celebrate with candy corn? Rather than going down to the grocery store and purchasing numerous scores of that deliciously sweet confection, I decided to celebrate with what else, but a project!

Last spring, I bought my daughter a long-sleeve orange t-shirt on clearance for about $2. Okay, I actually bought two. I also found some black pants with yellow, orange, and white polka dots. $4. All that was missing was the touch of fall. I decided to try my hand at applique, which I've never done before. After all, what's cuter and looks nicer than a well-done applique on children's clothing?

I knew my sewing machine had to be capable, but I still needed to do some trials and figure out the best method for actually sewing shaped fabric to the shirt. So off to the trials I went...

I started by trying to find a stitch on my machine that would give the effect I wanted. Some appliques look like a small zigzag, allowing some visibility of the raw edge of the stitched-on shape. Others use a "blanket stitch" look along the edge of the shape. I was looking for a solid, wide stitch that would totally cover the edge of my shape and provide a bold outline of my shape. On my machine, that called for setting a wide zig-zag stitch and then making the stitch length very short. On other machines, it meant selecting the "base" of the button hole stitch (the one that is wide and solid).

Next, I tried my stitch on a couple pieces of fabric. I found immediately that stitching that frequently on a piece of cotton fabric caused it to pucker; reinforcement was definitely needed. I also found that "steering" the fabric through the machine was challenging. The rate, speed, and direction of the stitches had a large impact on the outcome of the appliqued shape. It is particularly important to figure out how to do your curves, points, and sharp angles before you begin your actual project, so be sure to practice those. I highly recommend the practice sessions before beginning your actual project!

This is super-easy. I completed the whole project in one night, and it definitely cost under $10.

Applique a T-Shirt

Materials:
T-shirt or other garment
spray adhesive
lightweight iron-on interfacing (scraps)
scrap fabric for applique shape
coordinating thread

Cost: Under $10
Time: One night
Instructions:
1. Iron your t-shirt to remove all wrinkles.
2. Select an applique shape and cut it out of your scrap fabric. Sew together as needed. (For the candy corn, I got some orange, yellow, and white cotton. I sewed three strips together and then cut the candy corn shape out of the resulting rectangle.)
3. Iron the applique shape flat.
4. Iron lightweight interfacing to the BACK of the applique shape. Trim excess to the exact size of the shape.
5. Turn t-shirt inside out.
6. Cut a piece of lightweight interfacing slightly larger (1/2" - 1" all around) than the applique shape.
7. Iron the larger piece of lightweight interfacing to the INSIDE of the t-shirt in the location where the applique shape will be sewn.
8. Turn t-shirt right-side out.
9. Lightly spray the back of the applique shape with adhesive.
10. Place the shape on the t-shirt.
11. Applique shape to t-shirt using the desired stitch.


Applique looks great on home decor, clothing, and other items! (Think Christmas gifts!!) I'm thinking of adding applique flowers, hearts, and other shapes to more shirts, dresses, and pants for my daughter. Maybe a throw pillow with an initial. What else will you applique?