Perhaps you noticed back in this post another living room accessory lurking in the wings. Well, maybe not lurking. After all, it is dead center in my new series of pictures on my living room wall.
It's my new monogram wall hanging. Of course, monograms in home decorating is nothing new, and perhaps scattering words or letters in the midst of wall art isn't either. But this is a thrifty monogram. I picked up this letter for a mere dollar (thanks, Hobby Lobby!), and then I used my collection of acrylic craft paints to customize it. Of course, I wanted it to match/blend in with my wall o' frames, so I went black, but then I mixed up a custom gold color to add accents and then brush on an "antiquing" layer to give it a slightly aged look. This one's pretty simple, guys, so there's no step-by-step instructions, except for these: purchase, paint, hang. Done. But in case you're wanting to see close-ups of how I got there, here are some more pictures.
Love it! One night, WAY less than $20, easy-peasy, and so fun to customize. Of course, you can put your letters in any room and color them in any way. What a great gift idea, too! Where have you used monograms in home decor or gift giving?
Showing posts with label Gifts. Show all posts
Monday, February 7, 2011
Project #16: Make a Monogram Wall Hanging
Labels:
Adults,
Cost: Under $20,
Easy,
Gifts,
Home Decor,
One Night
Friday, January 28, 2011
Project #13: Make Wooden Toy Food
Wooden toy food is such a classic toy. Not to mention that it goes great with our emerging home-built toy kitchen (check out our first kitchen piece, the stove). But what really makes it great is how you can make it with a box of scrap wood. Whenever we build something in the workshop, there's inevitably some leftover scrap. No matter what shape or size results, we throw it in the scrap box. Who knows when it will come in useful?

Well (as promised), here's a great way to clean out the scrap wood box. It just takes a little bit of imagination, some sanding, and whatever paint you have on hand. And it will probably take a couple of nights because of having to allow your paint and putty to dry.
Time: Two Nights
Skill Level: Easy
Instructions:
Well (as promised), here's a great way to clean out the scrap wood box. It just takes a little bit of imagination, some sanding, and whatever paint you have on hand. And it will probably take a couple of nights because of having to allow your paint and putty to dry.
Make Wooden Toy Food
Materials Needed:- Scrap wood
- Screws
- Medium to fine sandpaper
- Paint (non-toxic)
- Wood glue
- Wood putty
- Clear sealant (non-toxic)
- Saw (circular, jigsaw, or miter saw will work fine)
- Drill
- Paintbrushes
Time: Two Nights
Skill Level: Easy
Instructions:
- Decide what foods you'd like to make. You can get inspiration from a number of websites. My favorite pre-made wooden food designer is Melissa & Doug. Check out all those cute little food sets! If you're like me, and giving your child a kitchen appliance for each birthday/holiday, you might choose items associated with that appliance. So, with a refrigerator, you might give cheese, milk, or orange juice.
- Cut your scrap wood pieces with the saw. Be sure to follow all manufacturer's safety precautions when operating power tools!
- Sand each component piece (some food will require multiple pieces to build) heavily with sandpaper. Sandpaper wrapped around a block of scrap wood works best for hand sanding; an electric sander makes things a lot easier (and faster). Be sure to remove all harsh/sharp corners and edges. even if it causes the shape to be a little less accurate overall, the safety of your child must be top priority!
- Assemble component pieces with screws and wood glue.
- Fill screw holes with wood putty. Use a scraper or sharp edge to smooth, even with surface of wood. Allow to set/dry.
- Apply a coat (or two) of paint, adding writing or decorations as desired. You might use items in your own pantry as models for colors, designs, and fonts. Don't worry about being too elaborate; just convey the main design of the item through your painting. Allow to dry.
- Spray with a coat or two of clear sealant. (Toymaker's Finish is safe for use on children's play things.) Allow to dry.
Remember, the idea here is not to be perfect, but to be creative and handmade. That makes it all the better! What food items have you made out of wood?
Labels:
Buildling,
Children,
Cost: Under $20,
Easy,
Gifts,
Two Nights
Friday, November 19, 2010
Project #11: Sew a Child's Chef Hat
I was looking for a fun child's gift for nieces and stumbled upon this cupcake gift set, currently on sale for about $6 at Bed, Bath, and Beyond. That reminded me that I had snagged a free project pattern at Joann's recently for a child's chef hat. I decided that, if I combined those items with a box of cake mix and a can of frosting, I just might have a really cute gift bag for a birthday at a very reasonable price! What child doesn't love baking??

So I got to work on the chef hat project (the apron wasn't needed since one is included in the gift set). I had to read the instructions a couple of times to figure out exactly what was being described in the instructions. I have to admit that once I understood, I used the given dimensions but opted to go a slightly different route on assembly so as to avoid having to hand sew the facing seam. I'll outline how I did it below, and you have the original instructions linked above. Choose your own route! It took me about an hour to assemble two hats. With basic sewing skills, this was very easy.
Cost: Under $20
This was a fun project, and now I can't wait to give these to my nieces! (Shhh!) Don't tell them what they're getting!
Do you have any themed kids' gifts, like this baking-themed bag of treats? With the holidays fast approaching, we're all looking for original and creative ideas! Feel free to share some of your own!
So I got to work on the chef hat project (the apron wasn't needed since one is included in the gift set). I had to read the instructions a couple of times to figure out exactly what was being described in the instructions. I have to admit that once I understood, I used the given dimensions but opted to go a slightly different route on assembly so as to avoid having to hand sew the facing seam. I'll outline how I did it below, and you have the original instructions linked above. Choose your own route! It took me about an hour to assemble two hats. With basic sewing skills, this was very easy.
Sew a Child's Chef Hat
Materials:
- 5/8 yard white fabric (I used home dec fabric, which has a nice weight)
- 3" length of 1"-wide elastic
- 5" x 22" piece of fusible interfacing
- thread
Equipment:
- Iron
- Sewing machine
Cost: Under $20
Instructions:
- Cut a 22" diameter circle for the hat and a 5"x22" rectangle for the band.
- (Optional) Embroider (or use iron-on embellishments) on the band (as shown below).
- Iron fusible interfacing to back of band.
- With right sides together, sew band together at narrow ends, using 5/8" seam.
- Press seam open.
- With right side out, fold band in half lengthwise, all the way around. Press.
- At back seam, insert 3" piece of elastic so that it lays centered (lengthwise) at the base of the the band fold.
- Stitch the center of the elastic in place by top-stitching in the band seam. (This will create a seam in the middle of your elastic.)
- Sew one end of elastic three inches from the center seam. Stretch elastic so that fabric lays flat, and stitch down the center of the elastic back to the band seam. Release. Fabric will gather as elastic pulls up. Repeat for other end of elastic.
- Using a high-tension, long-length stitch on your machine, gather edges of circle about 1/4" from the edge.
- With right sides together, pin hat to band (at raw edges), spacing as evenly as possible. Pin frequently.
- Sew a 5/8" seam around hat base to attach to the band.
- Turn right-side out and press.
Do you have any themed kids' gifts, like this baking-themed bag of treats? With the holidays fast approaching, we're all looking for original and creative ideas! Feel free to share some of your own!
Monday, November 8, 2010
Project #9: Sew a Small Baby Blanket
You always need a few good baby gift ideas. That's my opinion, anyway! In case you've had your fill of pillowcase dresses, pillow quilts, and wooden toy blocks, why not give a baby blanket a try?
This particular design was inspired by a blanket my daughter and several of her friends received as baby gifts. It is unique in that it has small loops of ribbon or trim sewn in the seams that baby can play with. This is great for little ones who are just developing early hand motor skills, but just as entertaining for older ones, too! (You can easily leave off the trims if you'd prefer.)
This project itself doesn't take up too much time or materials, and it's super easy to do. I bought some remnants of beautiful blanket fabrics and already had some matching ribbon scraps on hand. Read on and see how easy this adorable gift is!
This is a small blanket (roughly 11"x11" finished), but you could easily make it larger or full sized, as needed. A small size is great for traveling, naptime, doctor visits, diaper bags, or shopping. Baby can have something s/he loves without it taking up TOO much space!
This particular design was inspired by a blanket my daughter and several of her friends received as baby gifts. It is unique in that it has small loops of ribbon or trim sewn in the seams that baby can play with. This is great for little ones who are just developing early hand motor skills, but just as entertaining for older ones, too! (You can easily leave off the trims if you'd prefer.)
This project itself doesn't take up too much time or materials, and it's super easy to do. I bought some remnants of beautiful blanket fabrics and already had some matching ribbon scraps on hand. Read on and see how easy this adorable gift is!
Sew a Small Baby Blanket
Materials:
- Two pieces of coordinating blanket remnants (minkee, flannel, or quilter's cotton work great)
- Coordinating ribbon or trim remnants (ribbon, braids, or rick-rack work great)
Equipment:
- Sewing machine
- Pins
- Scissors
- Ruler
- Iron/ironing board
Cost: Under $20
Time: One night
Difficulty: Easy
Instructions:
- Cut several 5" lengths of ribbon/trim. I cut 12 lengths (3 per side); you could do more or less, depending on your trim width, blanket size, and/or preferences.
- Place blanket front right side up on flat surface.
- Place blanket back face down on blanket front, matching edges.
Could this be any cuter? I made 3 nearly identical ones with different trims--so fun! Just think of all the fabric and color combinations possible! What baby gift ideas have you made lately?
Tuesday, November 2, 2010
Project #8: Make Old-Fashioned (but New-Fangled) Wooden Toy Blocks
When I was growing up, my parents were always building furniture it seemed. So I spent a lot of time "playing around" in the wood working shop. Dad had a scrap box where he would throw odds and ends (left-over wood pieces) and I was allowed to use any of them to make anything I wanted.
Well, now that I have my own shop area (though not nearly as equipped, finished, or supplied as my parents'), I too have a scrap box where I throw my odds and ends. "Maybe I'll be able to use that sometime." "It seems like a waste to throw that away; I'll just tuck it in the box for later."
Well, later has come. For Christmas, I'm going to raid the wood scrap box to make a couple of sets of toys for my one year old. One of the projects is to make old-fashioned wooden building blocks. (You'll have to check back soon to see the other project!) Who doesn't love the endless creativity, dexterity-building, imagination-inducing power of old-fashioned wooden blocks??? And add a few pretty paint patterns with your store of craft and oops paint, and you've got a new take on an age-old (non-electric!) toy. I'm feeling giddy. :)

The best part of this project is that it's quick, simple, and nearly free (if you have all the supplies on hand, as I did)! Gather up your miscellaneous supplies! This one will help you clean out the junk from your workshop (and make room for more!).
Difficulty: Easy
Time: Two Nights
Instructions:
I cut, sanded, and applied the first coat of paint in the first night. Then I finished the detail work on the second and third nights. That's right. I got a little carried away on my details and painted a lot on those tiny pieces of scrap wood. But it made me so happy. :) You could easily finish this project in two nights. But the more detail you add, the more time it will take. Sounds logical, right?
I had all my scrap wood and oops/craft paint already on hand. I didn't buy anything for this project. I tried to choose a couple of similar or complementary colors to paint two sets of shapes. That made the set come together. And all the colors went nicely together, I thought. When I needed an extra color, I just mixed it myself on a paper plate. Not bad!
I can't wait to give this to the little one for Christmas. She's spied them already (oops!) and is definitely interested. They are going in hiding for a few more weeks. These would make great gifts for a one-year old birthday party, or even for a baby shower! Why not coordinate with a new baby's nursery? You could paint letters (or splurge on stickers/decals) to spell out the baby's name. What a great, personalized gift!
What about you? How have you used your scrap wood? What inexpensive, but creative and personal ideas have you come up with? Please share!
Well, now that I have my own shop area (though not nearly as equipped, finished, or supplied as my parents'), I too have a scrap box where I throw my odds and ends. "Maybe I'll be able to use that sometime." "It seems like a waste to throw that away; I'll just tuck it in the box for later."
Well, later has come. For Christmas, I'm going to raid the wood scrap box to make a couple of sets of toys for my one year old. One of the projects is to make old-fashioned wooden building blocks. (You'll have to check back soon to see the other project!) Who doesn't love the endless creativity, dexterity-building, imagination-inducing power of old-fashioned wooden blocks??? And add a few pretty paint patterns with your store of craft and oops paint, and you've got a new take on an age-old (non-electric!) toy. I'm feeling giddy. :)
The best part of this project is that it's quick, simple, and nearly free (if you have all the supplies on hand, as I did)! Gather up your miscellaneous supplies! This one will help you clean out the junk from your workshop (and make room for more!).
Make Old-Fashioned (but New-Fangled) Wooden Toy Blocks
Materials:- Scrap wood (non-treated varieties--since we don't want harmful chemicals near little ones!)
- Paint (non-toxic)
- Clear sealer
- Sandpaper
- Electric sander (optional)
- Paint brushes, varying sizes
Difficulty: Easy
Time: Two Nights
Instructions:
- Collect scrap wood pieces.
- Cut block-sized pieces. (Tip: A set of blocks is much more functional if you have several pieces that are the same size. This way, you can stack two identical blocks side by side and put a "roof" on top. Therefore, try to cut at least two of every shape.)
- Sand edges so that corners are smooth and mostly rounded. (Tip: An electric sander turned upside down makes this step infinitely quicker and easier!)
- Paint blocks, and decorate as desired. (Tip: You can paint modern or trendy patterns on these blocks to really bring them into this century. Or, for a more traditional look, keep them solid and paint--or stamp/decal/sticker--letters and numbers on them.)
- Seal paint with clear sealer (non-toxic if you can find it!).
I cut, sanded, and applied the first coat of paint in the first night. Then I finished the detail work on the second and third nights. That's right. I got a little carried away on my details and painted a lot on those tiny pieces of scrap wood. But it made me so happy. :) You could easily finish this project in two nights. But the more detail you add, the more time it will take. Sounds logical, right?
I had all my scrap wood and oops/craft paint already on hand. I didn't buy anything for this project. I tried to choose a couple of similar or complementary colors to paint two sets of shapes. That made the set come together. And all the colors went nicely together, I thought. When I needed an extra color, I just mixed it myself on a paper plate. Not bad!
I can't wait to give this to the little one for Christmas. She's spied them already (oops!) and is definitely interested. They are going in hiding for a few more weeks. These would make great gifts for a one-year old birthday party, or even for a baby shower! Why not coordinate with a new baby's nursery? You could paint letters (or splurge on stickers/decals) to spell out the baby's name. What a great, personalized gift!
What about you? How have you used your scrap wood? What inexpensive, but creative and personal ideas have you come up with? Please share!
Labels:
Buildling,
Children,
Cost: Under $20,
Easy,
Gifts,
Two Nights
Friday, October 8, 2010
Project #5: Applique a T-Shirt
Fall is in the air, and what better way to welcome the change in seasons but to celebrate with candy corn? Rather than going down to the grocery store and purchasing numerous scores of that deliciously sweet confection, I decided to celebrate with what else, but a project!
Last spring, I bought my daughter a long-sleeve orange t-shirt on clearance for about $2. Okay, I actually bought two. I also found some black pants with yellow, orange, and white polka dots. $4. All that was missing was the touch of fall. I decided to try my hand at applique, which I've never done before. After all, what's cuter and looks nicer than a well-done applique on children's clothing?
I knew my sewing machine had to be capable, but I still needed to do some trials and figure out the best method for actually sewing shaped fabric to the shirt. So off to the trials I went...
I started by trying to find a stitch on my machine that would give the effect I wanted. Some appliques look like a small zigzag, allowing some visibility of the raw edge of the stitched-on shape. Others use a "blanket stitch" look along the edge of the shape. I was looking for a solid, wide stitch that would totally cover the edge of my shape and provide a bold outline of my shape. On my machine, that called for setting a wide zig-zag stitch and then making the stitch length very short. On other machines, it meant selecting the "base" of the button hole stitch (the one that is wide and solid).
Next, I tried my stitch on a couple pieces of fabric. I found immediately that stitching that frequently on a piece of cotton fabric caused it to pucker; reinforcement was definitely needed. I also found that "steering" the fabric through the machine was challenging. The rate, speed, and direction of the stitches had a large impact on the outcome of the appliqued shape. It is particularly important to figure out how to do your curves, points, and sharp angles before you begin your actual project, so be sure to practice those. I highly recommend the practice sessions before beginning your actual project!
This is super-easy. I completed the whole project in one night, and it definitely cost under $10.
Materials:
T-shirt or other garment
spray adhesive
lightweight iron-on interfacing (scraps)
scrap fabric for applique shape
coordinating thread
Cost: Under $10
Time: One night
Instructions:
1. Iron your t-shirt to remove all wrinkles.
2. Select an applique shape and cut it out of your scrap fabric. Sew together as needed. (For the candy corn, I got some orange, yellow, and white cotton. I sewed three strips together and then cut the candy corn shape out of the resulting rectangle.)
3. Iron the applique shape flat.
4. Iron lightweight interfacing to the BACK of the applique shape. Trim excess to the exact size of the shape.
5. Turn t-shirt inside out.
6. Cut a piece of lightweight interfacing slightly larger (1/2" - 1" all around) than the applique shape.
7. Iron the larger piece of lightweight interfacing to the INSIDE of the t-shirt in the location where the applique shape will be sewn.
8. Turn t-shirt right-side out.
9. Lightly spray the back of the applique shape with adhesive.
10. Place the shape on the t-shirt.
11. Applique shape to t-shirt using the desired stitch.
Applique looks great on home decor, clothing, and other items! (Think Christmas gifts!!) I'm thinking of adding applique flowers, hearts, and other shapes to more shirts, dresses, and pants for my daughter. Maybe a throw pillow with an initial. What else will you applique?
Last spring, I bought my daughter a long-sleeve orange t-shirt on clearance for about $2. Okay, I actually bought two. I also found some black pants with yellow, orange, and white polka dots. $4. All that was missing was the touch of fall. I decided to try my hand at applique, which I've never done before. After all, what's cuter and looks nicer than a well-done applique on children's clothing?
I knew my sewing machine had to be capable, but I still needed to do some trials and figure out the best method for actually sewing shaped fabric to the shirt. So off to the trials I went...
I started by trying to find a stitch on my machine that would give the effect I wanted. Some appliques look like a small zigzag, allowing some visibility of the raw edge of the stitched-on shape. Others use a "blanket stitch" look along the edge of the shape. I was looking for a solid, wide stitch that would totally cover the edge of my shape and provide a bold outline of my shape. On my machine, that called for setting a wide zig-zag stitch and then making the stitch length very short. On other machines, it meant selecting the "base" of the button hole stitch (the one that is wide and solid).
Next, I tried my stitch on a couple pieces of fabric. I found immediately that stitching that frequently on a piece of cotton fabric caused it to pucker; reinforcement was definitely needed. I also found that "steering" the fabric through the machine was challenging. The rate, speed, and direction of the stitches had a large impact on the outcome of the appliqued shape. It is particularly important to figure out how to do your curves, points, and sharp angles before you begin your actual project, so be sure to practice those. I highly recommend the practice sessions before beginning your actual project!
This is super-easy. I completed the whole project in one night, and it definitely cost under $10.
Applique a T-Shirt
Materials:
T-shirt or other garment
spray adhesive
lightweight iron-on interfacing (scraps)
scrap fabric for applique shape
coordinating thread
Cost: Under $10
Time: One night
Instructions:
1. Iron your t-shirt to remove all wrinkles.
2. Select an applique shape and cut it out of your scrap fabric. Sew together as needed. (For the candy corn, I got some orange, yellow, and white cotton. I sewed three strips together and then cut the candy corn shape out of the resulting rectangle.)
3. Iron the applique shape flat.
4. Iron lightweight interfacing to the BACK of the applique shape. Trim excess to the exact size of the shape.
5. Turn t-shirt inside out.
6. Cut a piece of lightweight interfacing slightly larger (1/2" - 1" all around) than the applique shape.
7. Iron the larger piece of lightweight interfacing to the INSIDE of the t-shirt in the location where the applique shape will be sewn.
8. Turn t-shirt right-side out.
9. Lightly spray the back of the applique shape with adhesive.
10. Place the shape on the t-shirt.
11. Applique shape to t-shirt using the desired stitch.
Applique looks great on home decor, clothing, and other items! (Think Christmas gifts!!) I'm thinking of adding applique flowers, hearts, and other shapes to more shirts, dresses, and pants for my daughter. Maybe a throw pillow with an initial. What else will you applique?
Monday, September 27, 2010
Project #4: Build a Play Stove
Can I share my favorite Internet pasttime with you? It's perusing the pages of http://www.ana-white.com/, home to a fabulous build-it-yourself blogging empress. I'm constantly finding new building ideas, writing them down, figuring out where I'll put them in the house, and then reprioritizing my list when I find a new treasure.
One of the earliest decisions I made upon visiting Ana was to MAKE, not BUILD, my daughter her very own kitchen set. I didn't want something plastic and cheap. I wanted something sturdy and solid. But I didn't want to pay an arm and a leg for it, either. I wanted it to come from the heart--to have meaning. So I decided to build Ana's classic kitchen collection.
I started with the Cutest Play Stove Ever plans. Ana's plans were easy to follow and precise. (Disclaimer: I made a deal with my husband. If he'd build the "shell" of the stove, I'd decorate, paint, and accessorize. After all, we wanted it to be a joint effort!) My husband and I altered the plan slightly because we wanted to model it after a retro-style stove, many of which have a solid door without a window. We accomplished the solid door with the help of a Mini Kreg Jig. (Fabulous tool!)
After a coat of primer and a few coats of paint from the oops display at my local home improvement store, it was time to start accessorizing. I grabbed a curvy handle at the home improvement store, which gives the oven a whimsical feel. My mom found a mirror ("candle plate") at the local dollar store to put up front. I picked up a few round wood shapes and dowels from the craft store. I constructed knobs with some 2" round wood shapes and some square dowel pieces. I made the grill from the square dowels, too. I even pieced together the grates of the gas stove from larger square dowel pieces, glued together. I painted large 4" wooden circles for underneath the grates. I drilled a slightly larger hole in the stove top than the width of the screw, and then screwed the tip of the screw into the knobs, which allow them to turn freely. A few more coats of oops paint, and here's what I came up with.
I'm loving the results, and so is my daughter. She cooks for us al the time, thanks to her Ikea pots and pans (from a dear friend) and felt food. I'm making more felt and wooden food, so maybe in a future post, I'll comment on that. We even created our own logo to strap onto the back of the stove. Handmade for sure!
We've gotten a lot of attention on our stove from our friends and family who have visited. Of course, we refer them over to Ana's site. We can't wait to do the next project!
This project was relatively easy, if you're comfortable using a miter saw. There's no limit to how creative you can be with customizing your own stove, so I hope you'll try it. Depending on how elaborate you get, and what kind of deals you can cut with your local retailers, costs will hover around the $50 mark, give or take a few bucks. I had to buy paint, wood, accessories, hinges, etc., so things were a little pricey. Now we have a good store of small scrap pieces and coordinating paint, so we will likely save on future pieces. Now, it did take several nights to complete, simply because I wanted it just right. So, all in all, I probably spent about 10 nights on this one--mainly because I had a lot of paint to dry!
This project is very rewarding. Won't you give it a try, too? How are you going to accessorize your play stove?
Labels:
Buildling,
Children,
Cost: $50 - $100,
Easy,
Gifts,
Ten Nights
Monday, September 6, 2010
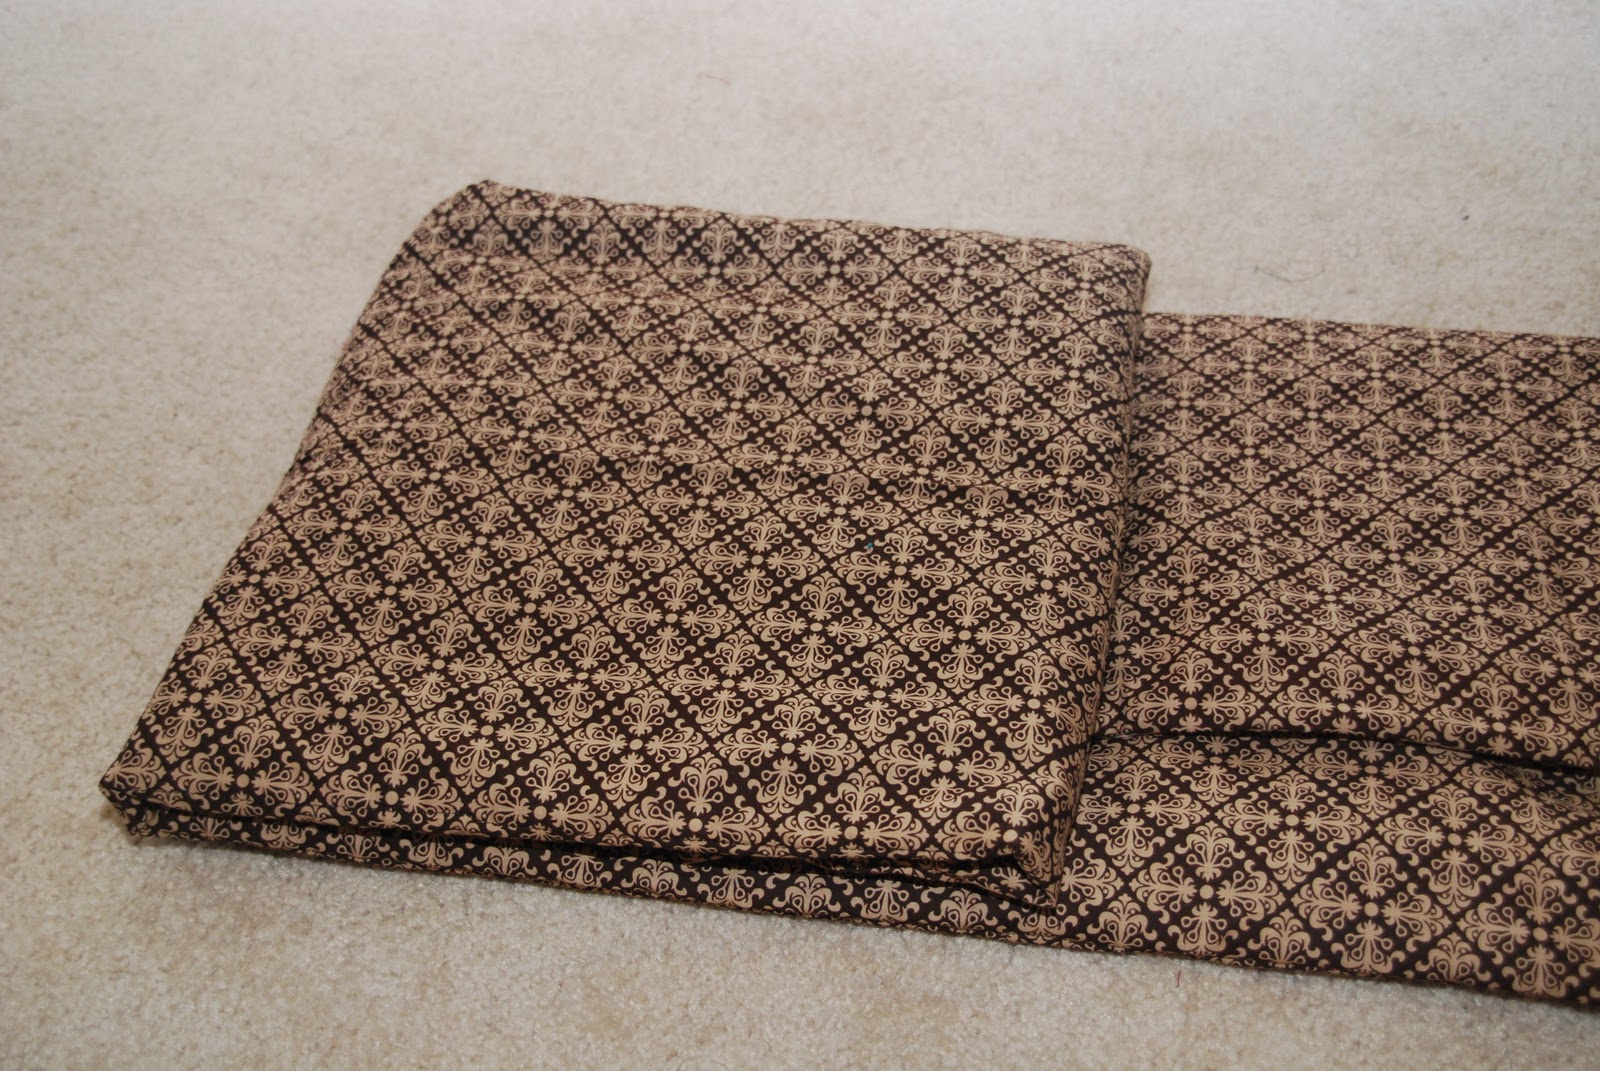
Project #2: Sew a Pillow Quilt (Quillow Pilt!)
When I was in elementary school, my grandmother made all seven of her grandkids pillow quilts for Christmas one year. They came as cute pillows with decorated fronts. These pillows unfolded into a cozy, soft blanket. And the bonus was that the pillow "pocket" served as a great foot warmer in cooler weather.

I took my pillow quilt with me everywhere--on road trips, on the couch, etc. And I still have and use it today. When we were younger, my brother and I often got tongue-tied trying to say "pillow quilt" and it often came out as "quillow pilt." Well, the name stuck in our family! We all have our own quillow pilts now and love them. They make perfect gifts for all ages. In fact, this year, all my nieces and nephews are getting handmade pillow quilts from me! I'd better get busy!
I made my second project by night this weekend. It's the first of my pillow quilts--one for my daughter. I think I could have done it in a single night, except I needed some extra supplies, and of course the cloth store isn't open at 11:00 p.m. I also think the pillow front took me more time, as I tried to decide exactly what to put on it. If I'd had an idea going into the project of what it was to look like, I probably wouldn't have wasted so much time just playing around and trying different things.
I'm rating this project as easy. The only real difficulty in this project is not the sewing itself. It arises in dealing with sewing such a large piece of fabric. It also stems from the level of complexity you choose to take on with decorating the front of your pillow. Otherwise, this is a very easy, straight-forward project! Enjoy, and be sure to share your own experiences and pictures making your "quillow pilts!"
Materials Needed:
Time to Complete: Two Nights
Level of Difficulty: Easy
Instructions:
All were decorated using the applique technique mentioned earlier. I can't wait to give them at Christmas!
I took my pillow quilt with me everywhere--on road trips, on the couch, etc. And I still have and use it today. When we were younger, my brother and I often got tongue-tied trying to say "pillow quilt" and it often came out as "quillow pilt." Well, the name stuck in our family! We all have our own quillow pilts now and love them. They make perfect gifts for all ages. In fact, this year, all my nieces and nephews are getting handmade pillow quilts from me! I'd better get busy!
I made my second project by night this weekend. It's the first of my pillow quilts--one for my daughter. I think I could have done it in a single night, except I needed some extra supplies, and of course the cloth store isn't open at 11:00 p.m. I also think the pillow front took me more time, as I tried to decide exactly what to put on it. If I'd had an idea going into the project of what it was to look like, I probably wouldn't have wasted so much time just playing around and trying different things.
I'm rating this project as easy. The only real difficulty in this project is not the sewing itself. It arises in dealing with sewing such a large piece of fabric. It also stems from the level of complexity you choose to take on with decorating the front of your pillow. Otherwise, this is a very easy, straight-forward project! Enjoy, and be sure to share your own experiences and pictures making your "quillow pilts!"
Sew a Pillow Quilt
Materials Needed:
- 2-1/2" yards of 45”-wide, 100% cotton fabric ("Fabric X")
- 2-1/2" yards of coordinating 45”-wide, 100% cotton fabric ("Fabric Y")
- 2-1/2" yards 45"-wide (or wider) quilter's batting (light or medium weight)
- Coordinating thread
- (Optional) Remnants, ribbon, rick rack, buttons, etc. for decorating front of pillow
Time to Complete: Two Nights
Level of Difficulty: Easy
Instructions:
- Cut the following pieces:
- 2 yards Fabric X (finished size: 72” x 45”)
- 2 yards Fabric Y (finished size: 72” x 45”)
- 2 yards batting (finished size: 72” x 45”)
- 18" x 18" Fabric X
- 18" x 18" Fabric Y
- 18" x 18" batting
- (Optional) Decorate the 18" x 18" piece of Fabric X as desired. Note that larger items should not be placed within the outer 2" of the square for seam allowances. (I appliqued a letter on this one using the same technique as described in this post about appliquing a t-shirt. I simply used MS Word to print the outline of a letter on an 8.5" x 11" letter sheet of paper, which became my pattern.)
- Place the 18" x 18" piece of Fabric X against the 18" x 18" piece of Fabric Y, with right sides together. Place the 18" x 18" piece of batting on the back of Fabric Y. Match and pin all edges.
- Sew all thicknesses together, using a 5/8" seam and leaving a 6" gap at the middle of the top edge of the pillow. (I used my serger in this picture, which made the seams a lot less bulky in the end!)
- Turn right sides out. Press, easing seam out along edges.
- Press under 5/8" of Fabric X and Fabric Y along 6" gap. Tuck batting underneath one fold of fabric. Pin. Edge stitch to close.
- Place the 2 yards of Fabric X against the 2 yards of Fabric Y, with right sides together. Place the 2 yards of batting on the back of Fabric Y. Match and pin all edges.
- Sew all thicknesses together, using a 5/8" seam and leaving a 10" gap at the middle of one of the short ends of the quilt.
- Turn right sides out. Press, easing seam out along edges.
- Press under 5/8" of Fabric X and Fabric Y along 10" gap. Tuck batting underneath one fold of fabric. Pin. Edge stitch to close.
- To quilt blanket:
- Place the pillow, face down, on the right side of Fabric Y. (Fabric Y should be showing on the back of the pillow.) The pillow should be centered, left to right, on the blanket and flush left with the end that was edge stitched (see Step 10 above). The top of the pillow design should be along the edge-stitched edge of the blanket. Pin.
- Measure the distance from the edge of the pillow to the outer edge of the blanket. Add 1/4". This is your quilting distance.
- Measure, mark, and pin (through all thicknesses) the quilting distance down both sides (long edges) of the blanket. This will result in two stitching guides.
- Stitch two straight lines along the stitching guides from the top of the blanket (including on top of the pillow) to the bottom (lengthwise). You may want to use a slightly longer stitch length to compensate for the extra thickness.
- Sew top of pillow to edge of blanket, using a 1/4" seam allowance. The bottom of the pillow (facing toward blanket center) should not be sewn to the blanket.
- To fold pillow quilt:
All were decorated using the applique technique mentioned earlier. I can't wait to give them at Christmas!
Labels:
Adults,
Children,
Cost: $20 - $50,
Easy,
Gifts,
Patterns,
Sewing,
Two Nights
Subscribe to:
Posts (Atom)