
Last week I finally got around to decorating my mantel. I felt inspired by a few left-over blue glass balls from an old crafts project, so I decided to go with a blue, silver, and white theme this year. I'm really liking it, but my stockings aren't so coordinated. I have a couple of Dollar Store green ones, a couple of red furry clearance ones from Macy's (which aren't big enough to hold anything it seems), and a single white one that served as a gift wrap at one time. Not exactly cream of the crop when coodinating with my new mantel scheme.

I've always thought that one day I'd have personalized stockings for our family, but there was no point in investing in them before I had children or a more "permanent" home. Well, now that we have one little one and another on the way, the time has come to finally get Christmas stockings, I decided. Plus, JoAnn's was having one heck of a sale this past weekend (including an extra 20% off my entire purchse). So I snagged plenty of fabric, some fur, some beaded trim, and went to it. I do believe that this is the fastest turnaround any of my sewing projects has ever seen: I actually bought fabric one afternoon and finished the project that night. Unbelievable! Here's how easy it was.
Sew a Christmas Stocking
Materials:
- old stocking (optional)
- large piece of paper for creating stocking pattern (or 4 pieces of copy paper taped together)
- 1/3 yard fabric for outside of stocking
- 1/3 yard fabric for stocking lining (optional)
- 1/2 yard 4" fur trim for stocking top
- 1/2 yard beaded trim (optional)
- 1" x 8" strip of scrap fabric or ribbon for stocking hanger
Equipment:
- sewing machine
- iron
- glue gun
- basic sewing supplies
Time: One night
Difficulty: Easy
Cost: Under $20 per stocking
Instructions:
- Using an old stocking that you like the shape of (or just your imagination), draw a pattern for your stocking on the piece of paper. Be sure to make it wide enough to fit gifts and treats inside, and allow for seam allowances all around. I made mine a little longer than my existing stocking because it seemed a little short.

- With fabric double-folded, pin pattern and cut stocking front and back out of outer material.

- If lining stockings (my outer material was especially thin, so I picked up some fleece to give the stocking body and increase opacity), repeat step #2 with lining fabric.

- With right sides together, sew (I serged) outer stocking together using a 1/4" seam allowance. Turn right side out and press.


- With right sides together, sew (I serged) stocking lining together using a 1/2" seam allowance. Trim excess fabric close to seam. DO NOT turn right side out.

- Cut stocking topper (fur) to size of opening (going all the way around the front and back of stocking), plus 1" for seam allowances.

- With right sides together, sew ends of topper (fur) together, using a 1/2" seam allowance. Turn right-side out.

- Fold stocking hanger in half and insert on heel side along seam, with fold pointed down.

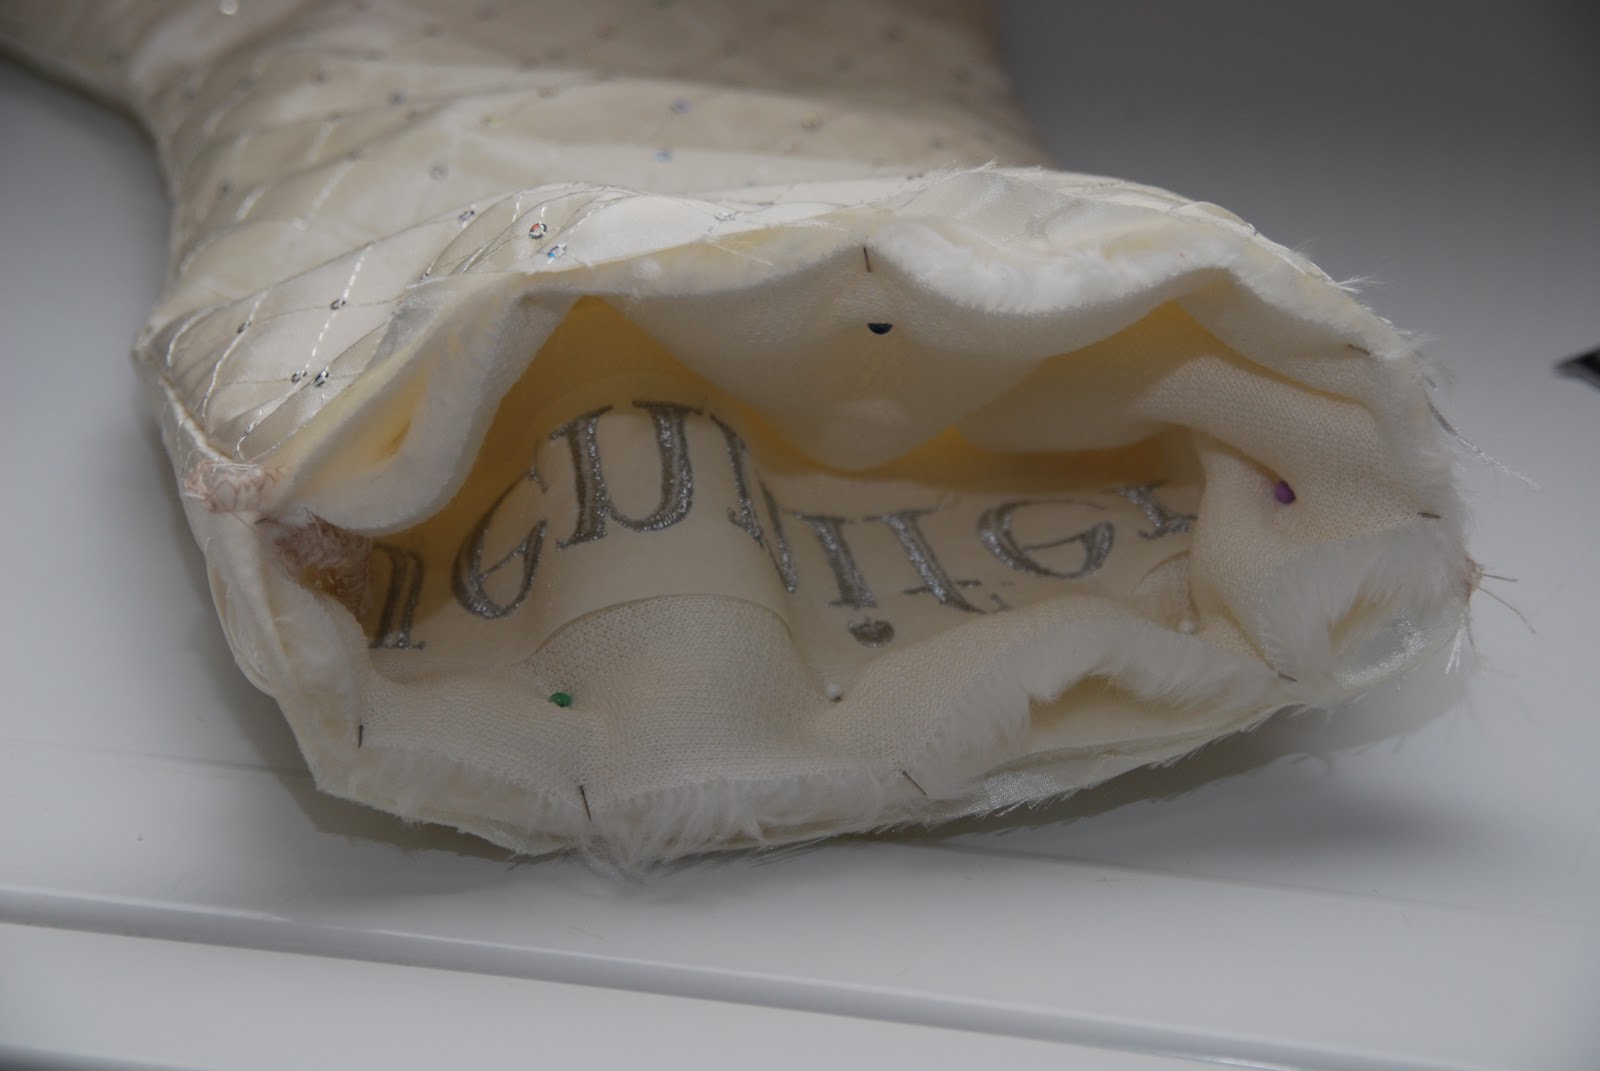
- Insert stocking topper (fur) into stocking, matching seam to heel seam.

- Pin through all thicknesses.

- Stitch around stocking opening, using a 1/2 seam allowance.
- Fold out stocking topper and hot glue beaded trim to the wrong side of the fur.

- Turn down stocking topper.


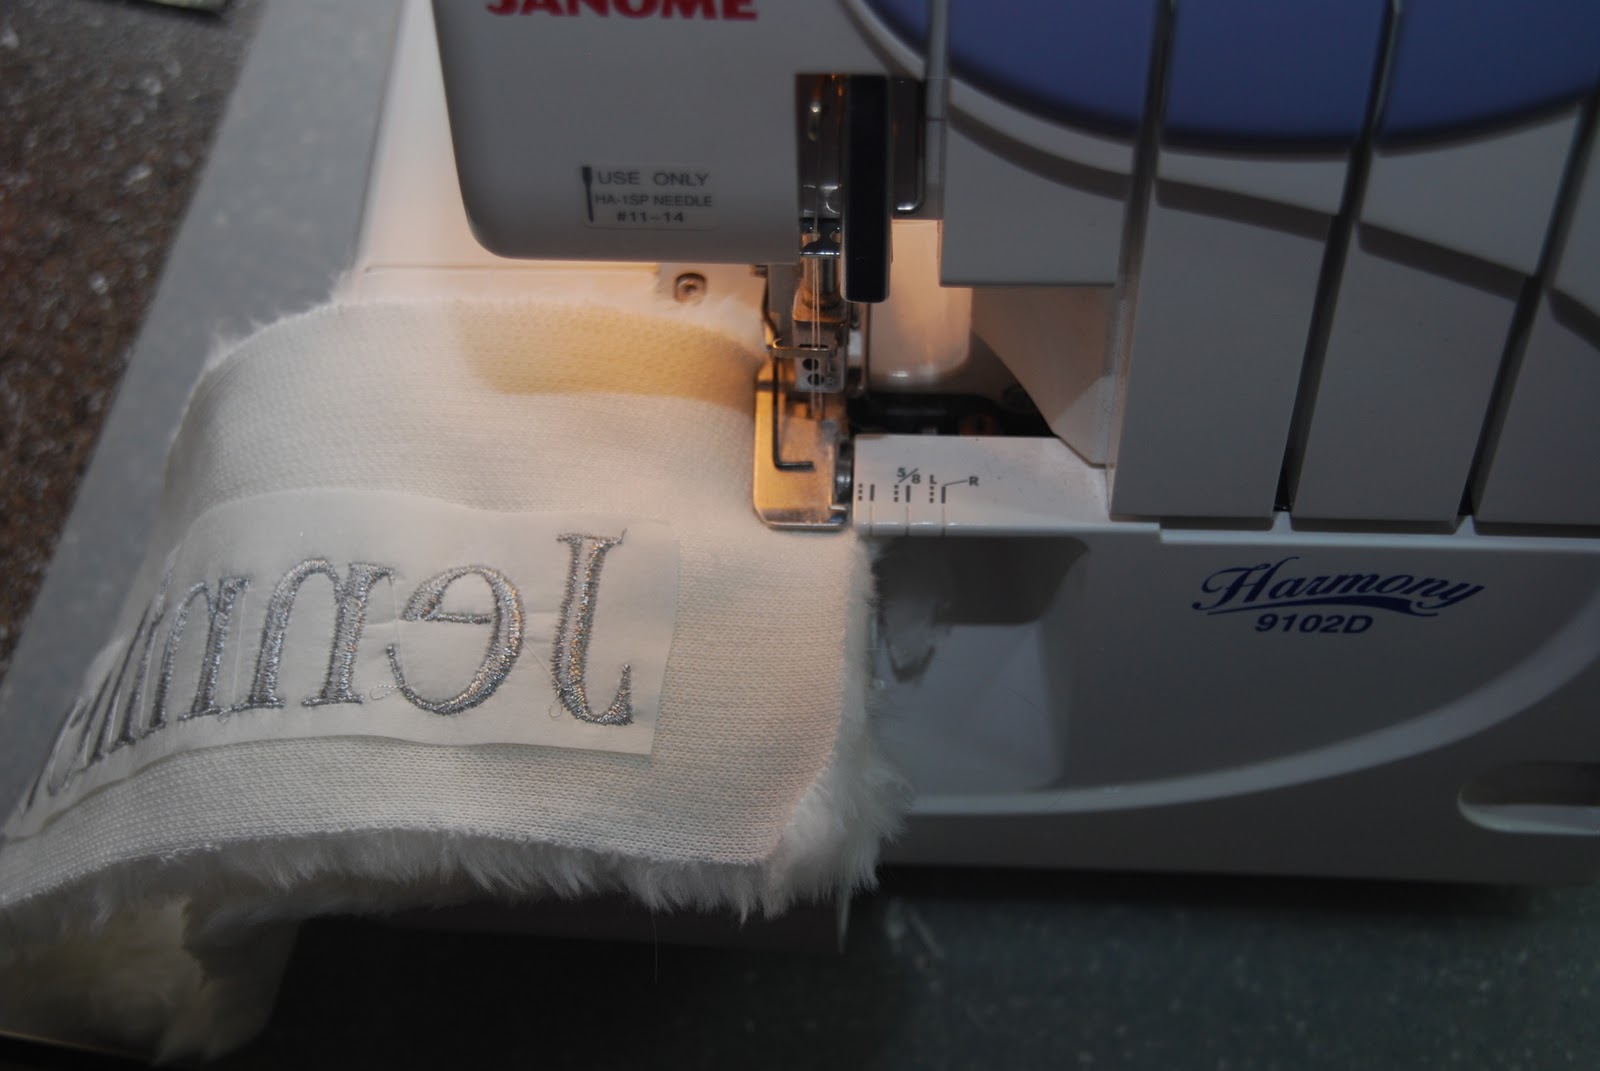


I'm so happy with how my stockings turned out. I actually made four in just a couple of hours, and because my lovely, generous mom was in town with her embroidery machine, she helped me embroider our names across the top of each one. I love them! Because each stocking didn't use the entire 1/3 yard of fabric, I could squeeze more stockings out of my scraps, making this a very economical project. Could I have bought them for less? Maybe on clearance after the holidays. But there's no way that they'd be exactly what I was looking for or handmade with love by my mom and me. What a fun evening of sewing, and what a beautiful addition to my Christmas mantel!
What about you? Have you ever made Christmas stockings? How have you personalized them?
No comments:
Post a Comment